ELEGANT WHITE FLORAL LACE CROCHET SQUARE
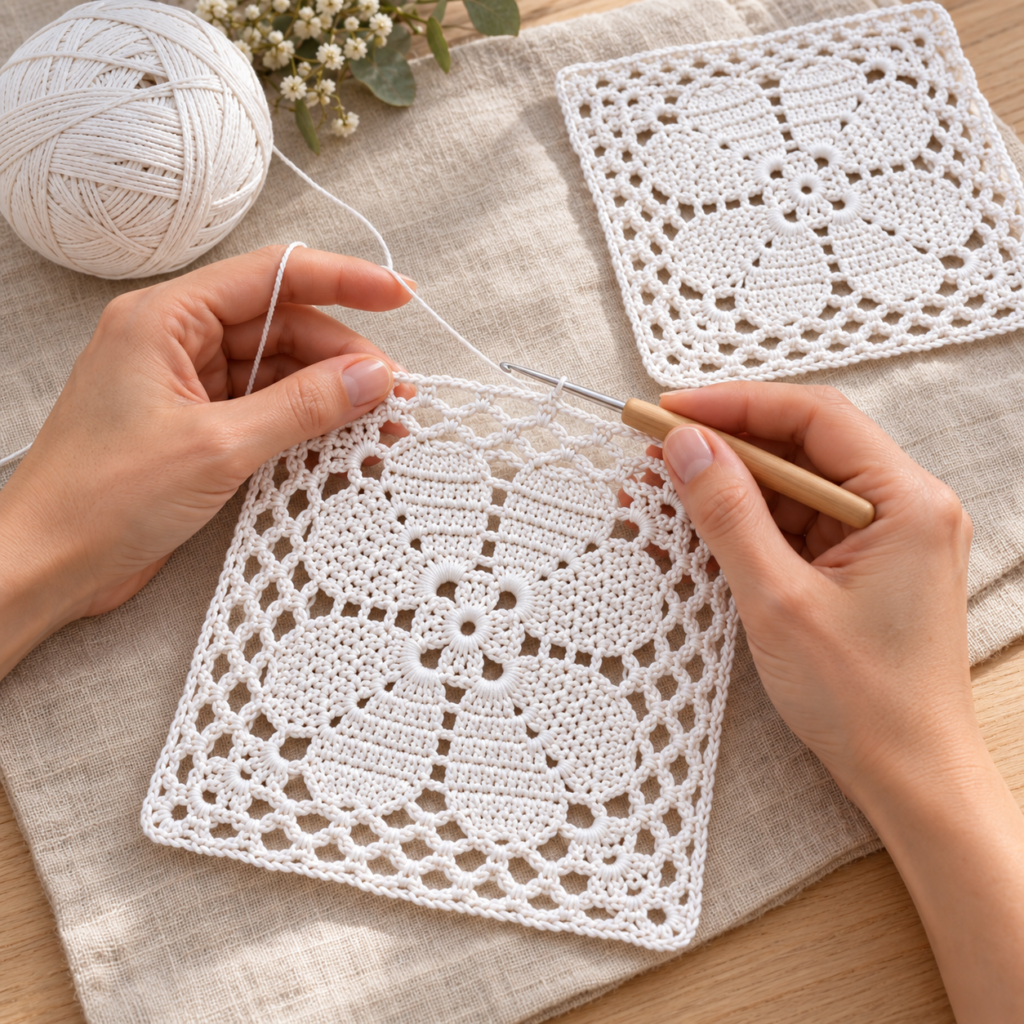
A Photo-Inspired Decorative Motif Pattern
INTRODUCTION
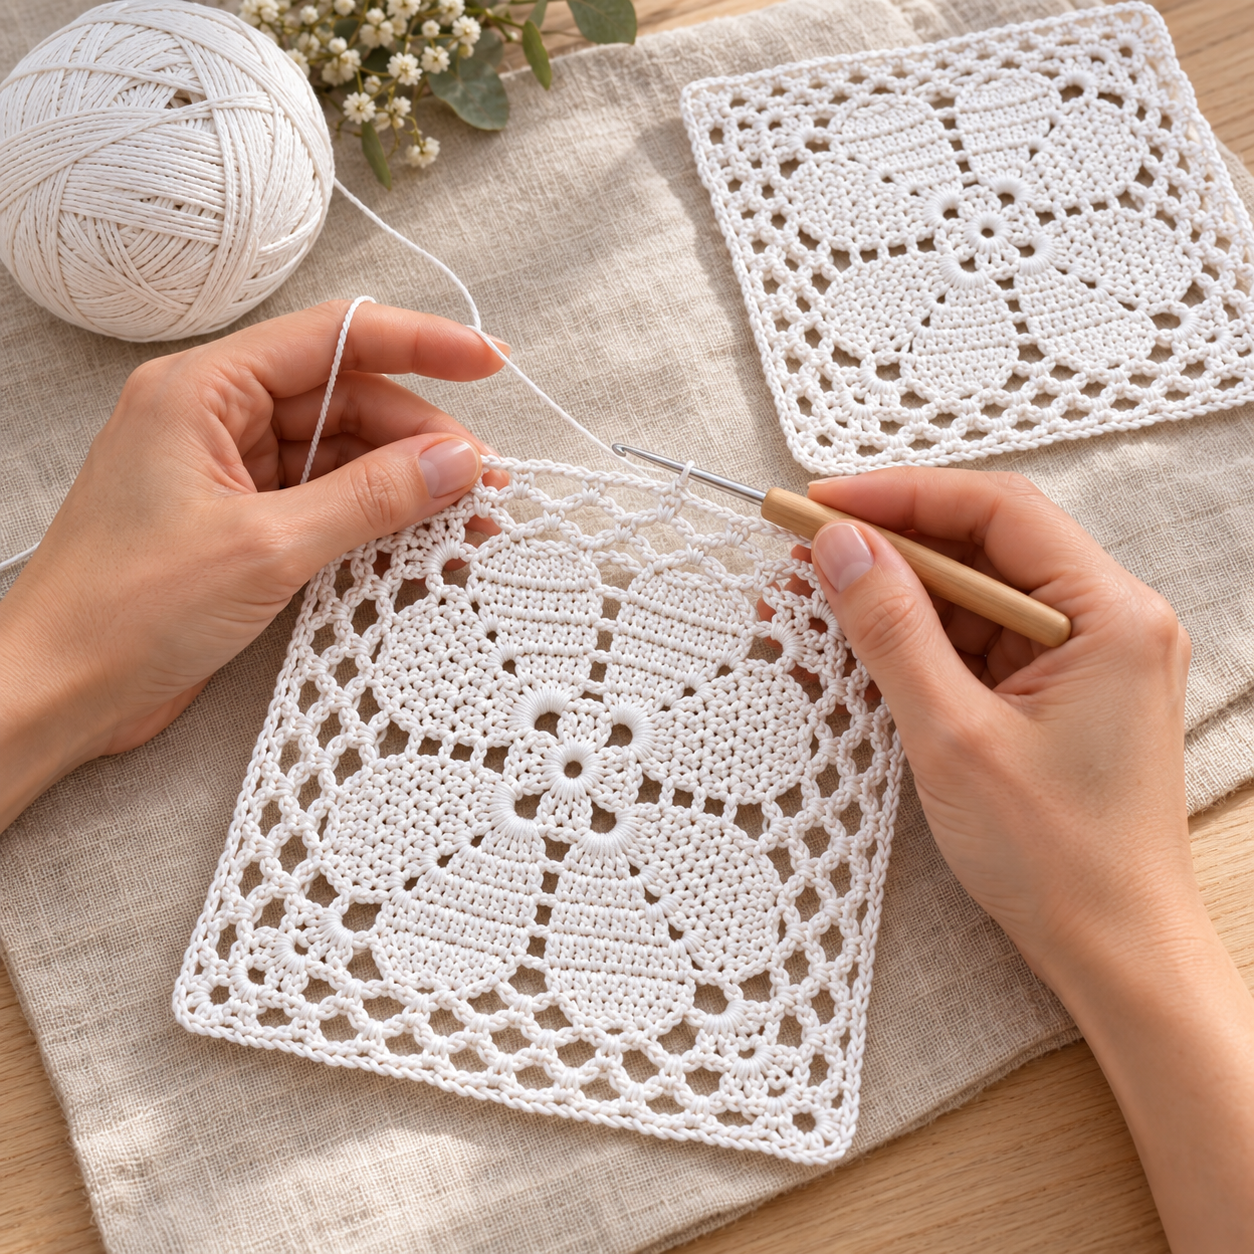
Delicate, romantic, and wonderfully detailed, this white floral lace crochet square is a beautiful project for anyone who enjoys creating decorative motifs. The design combines a small central flower, eight long sculpted petals, open chain spaces, floral corner details, and a neat square border.
The crisp white yarn gives the motif a timeless appearance. It can complement modern, vintage, farmhouse, bridal, or minimalist décor. Although the finished piece looks intricate, it can be created gradually by dividing the design into manageable sections.
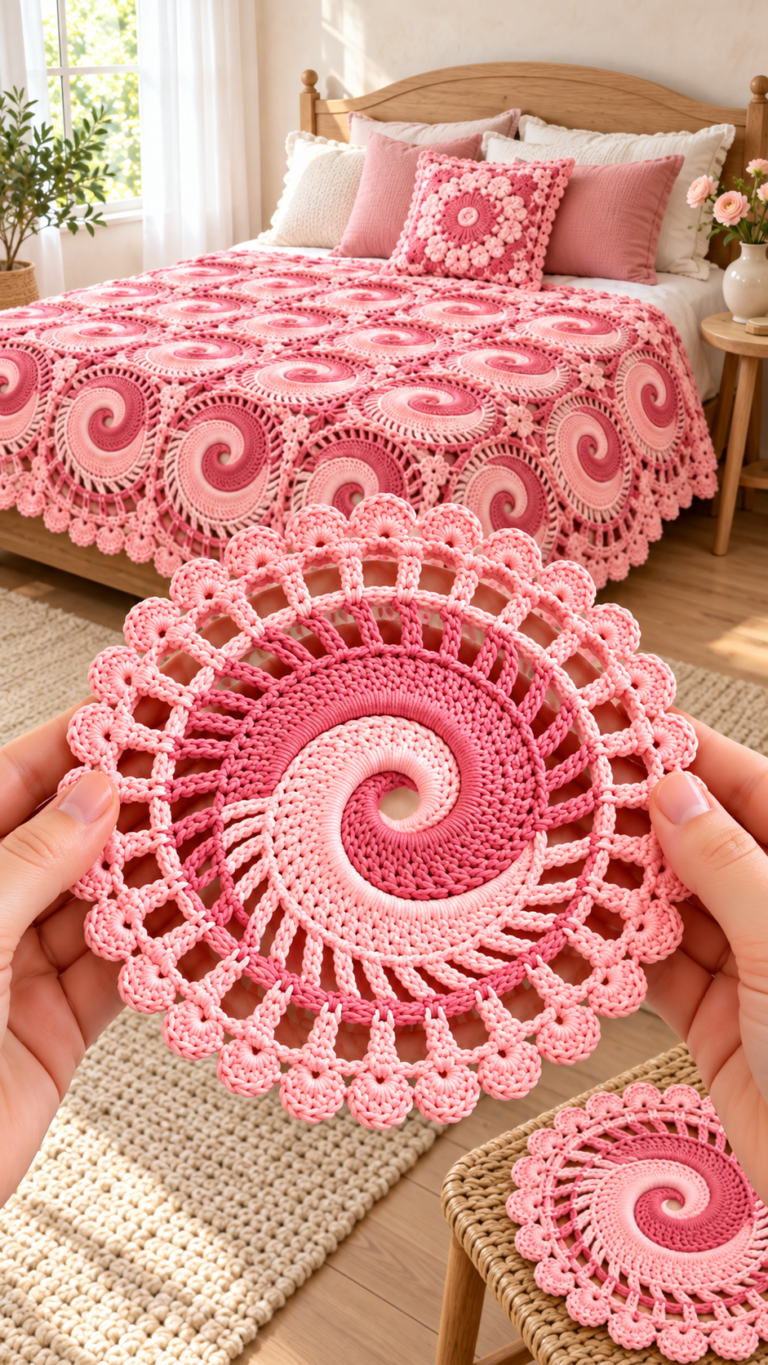
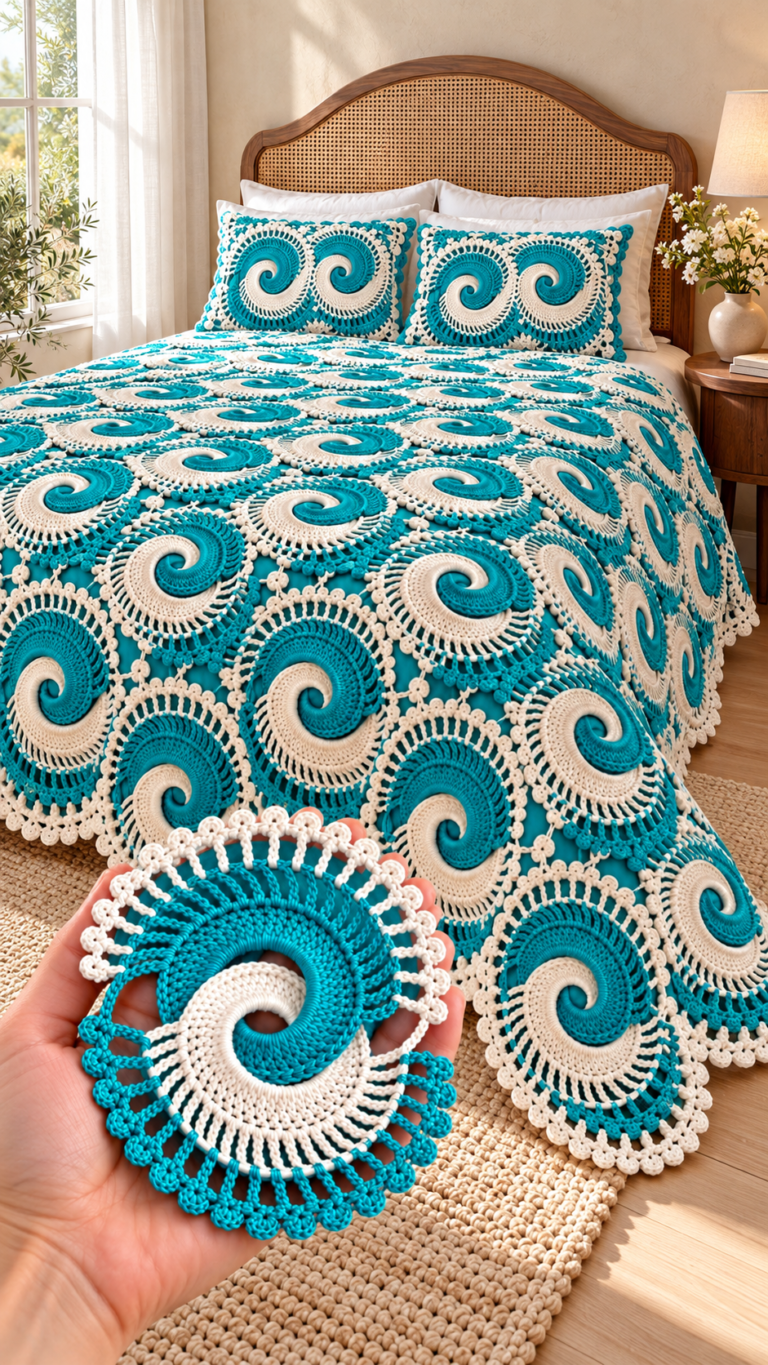
Make one square to use as a decorative mat, or crochet several matching motifs and join them to create a table runner, cushion cover, bedspread, curtain panel, or elegant lace throw.
ABOUT THIS PATTERN
This is a photo-inspired crochet reconstruction. It was created by studying the visible shapes, textures, and construction of the pictured motif. It is not the original designer’s exact pattern.
Because yarn thickness, hook size, tension, and blocking can change the finished appearance, your square may not be identical to the photographed piece. The purpose of this guide is to help you create a similar white floral lace square while allowing room for personal adjustments.
PROJECT OVERVIEW
The motif is worked from the center outward.
The main stages are:
- Crochet a small center ring.
- Form the delicate central flower.
- Create eight foundations for the large petals.
- Build the long textured petals.
- Add open spaces between the petals.
- Crochet decorative side and corner sections.
- Convert the circular floral design into a square.
- Finish with a simple, stable border.
- Block the motif to reveal the lace.
SKILL LEVEL
Intermediate
An adventurous beginner may also enjoy this pattern if comfortable with:
Working in the round
Counting stitches carefully
Crocheting into chain spaces
Making increases
Working tall stitches
Creating picots
Joining rounds with slip stitches
Blocking lace motifs
FINISHED SIZE
Using size 3 crochet thread or light fingering-weight cotton with a 2.25 mm hook, one blocked square should measure approximately:
9 to 11 inches across
The final measurement will depend on your yarn, hook, tension, number of border rounds, and blocking method.
MATERIALS
You will need:
Approximately 120 to 180 yards of white cotton yarn or crochet thread
A 2.0 mm to 2.75 mm crochet hook
Scissors
Yarn needle
Stitch markers
Rustproof blocking pins
Blocking mat or thick folded towel
Measuring tape
Optional fabric stiffener for ornaments or display pieces
CHOOSING THE BEST YARN
A smooth cotton yarn is recommended because it gives excellent stitch definition. The individual petals, open spaces, and corner details remain visible after blocking.
Good options include:
Size 3 crochet thread
Size 5 crochet thread for a finer motif
Mercerized cotton
Light fingering-weight cotton
Fine sport-weight cotton
Cotton and bamboo blends
Avoid very fuzzy yarn because the fibers may hide the smaller details. Highly elastic yarn can also make the square more difficult to block evenly.
If you want a firm coaster or table mat, use mercerized cotton. For a softer curtain, shawl panel, or bedspread, choose a lightweight cotton blend with a gentle drape.
HOOK SIZE
Select a hook that produces neat stitches without making the fabric excessively stiff.
Suggested combinations:
Size 5 thread: 1.75 mm to 2.0 mm hook
Size 3 thread: 2.0 mm to 2.5 mm hook
Fingering-weight cotton: 2.5 mm to 3.0 mm hook
The open sections should lie flat, and the dense petals should remain flexible. If the fabric feels hard or your hands become tired, move up one hook size.
COLOR SUGGESTIONS
Classic white creates a clean and elegant result, but this design can also be made in:
Ivory
Cream
Soft beige
Blush pink
Dusty blue
Sage green
Lavender
Burgundy
Navy blue
Black
Metallic cotton
For a two-color version, work the center and petals in one shade and the outer lace border in a contrasting shade.
ABBREVIATIONS
This pattern uses US crochet terminology.
MR – Magic ring
Ch – Chain
Sl st – Slip stitch
Sc – Single crochet
Hdc – Half double crochet
Dc – Double crochet
Tr – Treble crochet
Dtr – Double treble crochet
St – Stitch
Sp – Space
Ch-sp – Chain space
Sk – Skip
Rep – Repeat
Rnd – Round
BLO – Back loop only
YO – Yarn over
SPECIAL STITCHES
PICOT
Ch 3, then slip stitch into the first chain made.
SMALL PICOT
Ch 2, then slip stitch into the first chain.
DOUBLE CROCHET CLUSTER
Yarn over, insert the hook into the indicated space, yarn over and pull up a loop. Yarn over and pull through two loops. Repeat this process two more times in the same space. Yarn over and pull through all remaining loops.
TALL PETAL STITCH
The large petals are formed by gradually increasing the stitch height and then decreasing it.
A basic tall petal sequence is:
Sc, hdc, dc, 3 tr, 5 dtr, 3 tr, dc, hdc, sc
The stitch count can be adjusted if your petal needs to be wider or narrower.
GAUGE
Exact gauge is not essential for a single decorative motif. However, gauge becomes important when several squares will be joined.
Crochet one complete motif, block it, and measure it before making the remaining squares.
All completed motifs should have the same:
Stitch count
Number of rounds
Yarn weight
Hook size
Blocked measurement
PATTERN NOTES
The beginning chains may count as the first stitch unless otherwise stated.
Join each round with a slip stitch.
Keep the center slightly firm so it supports the large petals.
Do not pull the chain spaces too tightly.
Use stitch markers to identify the eight petal sections.
Count the petals before beginning the outer lace.
Block the motif before deciding whether it needs an additional border round.
The right side of the work should face you unless the instructions say otherwise.
PART ONE: THE CENTER RING
Round 1:
Make a magic ring.
Ch 1, then work 16 sc into the ring.
Pull the ring closed, leaving a small decorative opening in the center.
Join with a sl st to the first sc.
You should have 16 sc.
If you do not like using a magic ring, ch 8 and join with a sl st to form a circle. Work the first round into that circle.
Round 2:
Ch 1.
Work 1 sc in the first stitch, ch 3, skip the next stitch, and work 1 sc in the following stitch.
Repeat around.
Join with a sl st.
You should have 8 ch-3 spaces.
These eight spaces establish the positions of the main petals.
PART TWO: THE SMALL CENTER FLOWER
Round 3:
Sl st into the first ch-3 space.
In each ch-3 space, work:
1 sc, 1 hdc, 3 dc, 1 hdc, 1 sc
Repeat in every space around.
Join with a sl st.
You should now have eight small rounded petals surrounding the center opening.
Round 4:
Working behind the small petals, insert the hook around the sc between two petals.
Ch 5 and sl st around the next sc between the petals.
Repeat around.
You should have 8 ch-5 spaces positioned behind the first flower.
These spaces will support the large petals.
PART THREE: BUILDING THE LARGE PETAL FOUNDATIONS
Each large petal is worked into one ch-5 space.
Round 5:
Sl st into the first ch-5 space.
Work the following into the space:
1 sc
1 hdc
2 dc
4 tr
6 dtr
4 tr
2 dc
1 hdc
1 sc
The stitches should form a broad, rounded fan.
Repeat the same sequence in every ch-5 space around.
Join with a sl st.
You should have eight large petal foundations.
If the petal ruffles excessively, remove two of the double treble stitches. If it pulls inward, add two more double treble stitches near the center of the fan.
PART FOUR: LENGTHENING THE PETALS
The petals in the photographed design appear long, pointed, and densely stitched. This effect can be recreated by working short rows over each fan.
Petal Row 1:
With the right side facing, join the yarn to the first stitch of one petal.
Ch 1 and work 1 sc in every stitch across the petal.
Turn.
Petal Row 2:
Ch 1.
Skip the first stitch and work 1 sc in each stitch across, leaving the final stitch unworked.
Turn.
Petal Row 3:
Ch 1.
Skip the first stitch, work 1 sc in every stitch across, and leave the final stitch unworked.
Turn.
Continue repeating Petal Row 3 until approximately 6 to 8 stitches remain.
Final Petal Row:
Ch 1.
Work a decrease over the first two stitches.
Work 1 sc in each stitch until two stitches remain.
Decrease over the final two stitches.
Fasten off.
The decreases create a pointed petal tip.
Repeat these rows for all eight petals.
ALTERNATIVE PETAL METHOD
If you prefer not to fasten off after every petal, keep the working yarn attached and use slip stitches along the back of the motif to travel to the next petal.
Make sure the traveling stitches remain loose. Tight slip stitches can distort the center.
PART FIVE: DEFINING THE PETAL EDGES
Join the yarn at the base of the first large petal.
Work evenly around the petal using sc.
Place 2 or 3 sc near the pointed tip so the edge does not curl.
At the petal base, ch 3 and move to the next petal.
Repeat around all eight petals.
Join with a sl st.
This outline makes the petals look cleaner and more sculpted.
For a raised edge, work the outlining round in BLO.
PART SIX: OPEN SPACES BETWEEN THE PETALS
The open sections prevent the floral center from becoming too heavy.
Round 6:
Join the yarn in the ch-3 space between two petals.
Ch 5 and attach with 1 sc near the lower side of the next petal.
Ch 5 and attach near the tip of the same petal.
Ch 5 and attach near the opposite lower side of the petal.
Ch 5 and attach in the space between the current petal and the next one.
Repeat around.
The exact placement may be adjusted. The important goal is to create evenly spaced chain arches around every petal.
Round 7:
Sl st into the first ch-5 space.
Work:
1 sc, ch 3, 1 sc
in every ch-5 space around.
Join with a sl st.
This adds a small decorative point to each open arch.
PART SEVEN: FORMING THE INNER LACE RING
Round 8:
Sl st into the first ch-3 space.
Ch 4, then work 1 dc in the same space.
Ch 3.
In the next ch-3 space, work:
1 dc, ch 1, 1 dc
Ch 3.
Repeat around.
Join with a sl st.
Round 9:
Sl st into the first ch-3 space.
Work 3 sc in each small ch-1 space and 5 sc in each larger ch-3 space.
Join with a sl st.
This round stabilizes the petal arrangement before the square shaping begins.
PART EIGHT: PLANNING THE SQUARE
Lay the motif flat.
Choose four evenly spaced points to become the corners. Each corner should fall between two large petals.
Place a stitch marker in each selected corner space.
There should be two petals between every pair of corner markers.
Check the placement carefully. If the corners are not evenly distributed, the finished square will twist.
PART NINE: FIRST SQUARE-SHAPING ROUND
Round 10:
Join the yarn in any marked corner space.
In the corner space, work:
1 sc, ch 7, 1 sc
Ch 5 and work 1 sc in the next available side space.
Ch 5 and work 1 sc in the following side space.
Continue making ch-5 loops across the side.
In the next marked corner, work:
1 sc, ch 7, 1 sc
Repeat this sequence around all four sides.
Join with a sl st.
You should now see the beginning of a square.
PART TEN: SECOND SQUARE-SHAPING ROUND
Round 11:
Sl st into the first corner ch-7 space.
In the corner, work:
3 dc, ch 3, 3 dc
Ch 3.
Work 3 dc into the next ch-5 space.
Ch 3.
Continue working 3 dc in every side space, with ch 3 between the groups.
In each corner ch-7 space, work:
3 dc, ch 3, 3 dc
Repeat around.
Join with a sl st.
If the sides look too tight, replace the ch-3 spaces with ch-4 spaces. If they look too loose, use ch 2.
PART ELEVEN: DECORATIVE SIDE LACE
Round 12:
Sl st to the first corner space.
In the corner, work:
1 sc, ch 5, 1 sc
Ch 4 and work 1 sc in the next side space.
Repeat across the side.
In each corner, work:
1 sc, ch 5, 1 sc
Continue around and join.
Round 13:
Sl st into the first corner loop.
In each corner ch-5 loop, work:
3 sc, ch 3, 3 sc
In every ch-4 side loop, work:
1 sc, ch 3, 1 sc
Repeat around.
Join with a sl st.
This creates the small pointed lace details visible around the outside of the motif.
PART TWELVE: OPTIONAL CORNER FLOWERS
For more decorative corners, add a small flower to each corner.
Join the yarn in one corner ch-3 space.
Work the following five times into the same space:
Ch 3, 2 dc, ch 3, sl st
This creates a five-petal corner flower.
Fasten off and repeat in the other three corners.
If the corner flowers make the motif too bulky, replace them with a simple picot.
PART THIRTEEN: THE FINAL SQUARE BORDER
Round 14:
Join the yarn in any corner.
Ch 1.
Work 1 sc in every stitch and chain space across the first side.
In the corner, work:
2 sc, ch 2, 2 sc
Repeat around all four sides.
Join with a sl st.
Round 15:
Ch 1 and work 1 sc in every sc around.
In each corner ch-2 space, work:
1 sc, ch 2, 1 sc
Join with a sl st.
Fasten off.
For a more delicate border, replace Round 15 with:
1 sc in the next stitch, ch 3, skip 1 stitch
Repeat across each side, keeping the corner spaces unchanged.
WEAVING IN THE ENDS
Thread each yarn tail onto a yarn needle.
Weave the tail through the back of several stitches.
Change direction and weave through a second section.
Trim the remaining yarn close to the fabric.
Do not cut the tails immediately beside a knot. Lace motifs are frequently stretched during blocking, and a short tail may work loose.
BLOCKING THE CROCHET SQUARE
Blocking is essential for this project. The motif may look uneven or slightly curled before blocking, but the lace will open beautifully when shaped.
WET-BLOCKING METHOD
Soak the finished square in lukewarm water for approximately 10 to 15 minutes.
Gently press out the excess water.
Do not twist or wring the crochet.
Place the motif on a clean towel and roll the towel to remove additional moisture.
Transfer the motif to a blocking mat.
Stretch it into a square.
Pin all four corners first.
Measure the distance between opposite corners and confirm that the measurements match.
Pin the center of each side.
Continue adding pins around the border.
Arrange every large petal and open chain space.
Allow the motif to dry completely before removing the pins.
STEAM-BLOCKING METHOD
Place the motif on a heat-resistant blocking surface and pin it into shape.
Hold a steamer or iron slightly above the crochet.
Allow the steam to relax the fibers.
Do not press the iron directly onto the stitches.
Let the motif cool and dry completely before removing the pins.
Always check the yarn label before using heat. Acrylic and synthetic blends can melt or flatten.
OPTIONAL STIFFENING
A lightly stiffened motif can be used as:
A wall decoration
A framed lace piece
A tray liner
A holiday ornament
A decorative centerpiece
A small amount of diluted fabric stiffener may be applied after washing. Shape the motif carefully and leave it pinned until completely dry.
HOW TO JOIN MULTIPLE SQUARES
WHIP-STITCH JOIN
Block all the squares to the same measurement.
Place two motifs with the right sides facing.
Use a yarn needle to sew through the corresponding border stitches.
This method creates a strong, almost invisible seam.
SLIP-STITCH JOIN
Place two squares with the wrong sides together.
Insert the hook through the matching border stitches.
Work a slip stitch through both layers.
Keep the slip stitches loose so the seam remains flexible.
SINGLE-CROCHET JOIN
Place two squares with the wrong sides together.
Work sc through the corresponding stitches of both motifs.
This produces a visible raised ridge that can become part of the design.
JOIN-AS-YOU-GO METHOD
During the final border round of the second square, replace selected chain stitches with slip stitches into the corresponding spaces of the first square.
This method reduces sewing but requires careful counting and planning.
PROJECT IDEAS
One motif can become:
A decorative coaster
A small table mat
A candle mat for flameless candles
A framed lace decoration
A handbag panel
A pocket decoration
A wall hanging
A special gift topper
Four motifs can become:
A cushion front
A small table centerpiece
A lace placemat
A decorative tote panel
A larger group of squares can become:
A table runner
A bedspread
A lightweight blanket
A curtain panel
A room divider
A decorative shawl
A wedding backdrop
A lace tablecloth
CUSTOMIZATION IDEAS
TWO-COLOR DESIGN
Use one color for the central flower and petals, then change to a second color for the outer mesh and border.
OMBRE DESIGN
Begin with the lightest shade in the center and gradually use darker shades toward the border.
VINTAGE DESIGN
Choose cream, ivory, or tea-stained cotton. Add a narrow beige border for an aged lace effect.
MODERN DESIGN
Work the entire motif in charcoal, navy, mustard, terracotta, or deep green.
BRIDAL DESIGN
Use white or ivory mercerized cotton. A fine metallic thread can be held together with the main yarn to add subtle sparkle.
BOHEMIAN DESIGN
Use warm neutral colors and add small tassels to the four corners.
TURNING THE MOTIF INTO A CUSHION COVER
Crochet four or nine matching squares.
Block every square to the same dimensions.
Join the motifs to form the cushion front.
Crochet or sew a plain fabric panel for the back.
Join the front and back around three sides.
Insert a cushion form.
Close the remaining side with buttons, a zipper, or crochet ties.
TURNING THE MOTIF INTO A TABLE RUNNER
Decide how long and wide you want the runner to be.
Make enough squares for the desired arrangement.
Block them carefully.
Join the squares in rows.
Add one or two border rounds around the entire runner.
Block the completed runner again.
For a narrow runner, join the motifs in a single line. For a wider runner, arrange them in two or three rows.
COMMON MISTAKES AND HOW TO FIX THEM
MISTAKE 1: THE CENTER WILL NOT LIE FLAT
Cause:
Too many stitches were added to the early rounds.
Solution:
Remove several stitches from the petal foundation round or use a smaller hook for the center.
MISTAKE 2: THE CENTER CUPS LIKE A BOWL
Cause:
The stitches are too tight, or there are not enough increases.
Solution:
Use a larger hook or add one or two stitches to each petal foundation.
MISTAKE 3: THE PETALS ARE DIFFERENT SIZES
Cause:
Stitches or rows were missed.
Solution:
Count the stitches in the first completed petal and write down the number of rows. Use that petal as a guide for the remaining seven.
MISTAKE 4: THE PETALS CURL
Cause:
The edging is too tight or too few stitches were worked around the petal tip.
Solution:
Use a larger hook for the edging and add extra sc around the pointed end.
MISTAKE 5: THE CHAIN SPACES SAG
Cause:
The chains are too loose or contain too many stitches.
Solution:
Reduce the chain length by one or two stitches.
MISTAKE 6: THE OUTER BORDER RUFFLES
Cause:
There are too many stitches or the side chain spaces are too long.
Solution:
Use shorter chains, skip an occasional space, or change to a smaller hook.
MISTAKE 7: THE SQUARE PULLS INWARD
Cause:
There are too few stitches along the sides.
Solution:
Add one chain to each side space or place an additional stitch group between two petals.
MISTAKE 8: THE CORNERS ARE ROUNDED
Cause:
The corner spaces do not contain enough stitches.
Solution:
Add one additional stitch on each side of the corner chain.
MISTAKE 9: THE SQUARE LOOKS CROOKED
Cause:
The corner positions were not evenly spaced.
Solution:
Before beginning the square-shaping rounds, confirm that exactly two large petals appear between each pair of corner markers.
MISTAKE 10: THE LACE LOOKS DENSE
Cause:
The yarn is too thick, the hook is too small, or the tension is too tight.
Solution:
Choose a finer yarn, use a larger hook, and relax the chain stitches.
MISTAKE 11: THE MOTIFS ARE DIFFERENT SIZES
Cause:
The tension changed between squares.
Solution:
Measure every motif before fastening off. Add or remove a border round where necessary, then block all motifs to the same dimensions.
MISTAKE 12: THE BORDER TWISTS AFTER JOINING
Cause:
The motifs were not blocked before assembly.
Solution:
Block each square separately before joining. Block the completed project again after assembly.
CARE INSTRUCTIONS
For cotton motifs:
Hand-wash in cool or lukewarm water.
Use a mild detergent.
Avoid bleach unless the yarn label specifically permits it.
Do not twist or wring the lace.
Press out the water gently with a towel.
Reshape while damp.
Dry flat.
For a joined blanket or tablecloth, place the project inside a large laundry bag before using a washing machine. Select a delicate cycle and cold water.
Store clean and completely dry. Fold loosely and avoid placing heavy objects on top of the lace.
FREQUENTLY ASKED QUESTIONS
CAN A BEGINNER MAKE THIS MOTIF?
A determined beginner can make it, but the project is best suited to someone who already understands basic stitches, working in the round, increases, chain spaces, and stitch counting.
CAN I USE ACRYLIC YARN?
Yes, but cotton usually gives better stitch definition and holds the blocked shape more successfully. Acrylic creates a softer motif and may require careful steam blocking.
CAN I USE THICK YARN?
Yes. Thick yarn will create a larger and heavier square. It may work well for a cushion or blanket, but some of the delicate lace details will appear less defined.
WHY DOES MY MOTIF LOOK UNTIDY BEFORE BLOCKING?
This is normal. Lace often looks wrinkled, curled, or uneven before blocking. Blocking stretches the chain spaces, separates the petals, sharpens the corners, and reveals the complete pattern.
HOW CAN I MAKE A SMALLER SQUARE?
Use finer thread and a smaller hook. You can also omit the final border round.
HOW CAN I MAKE A LARGER SQUARE?
Use thicker yarn, a larger hook, or add more border rounds. Additional rounds can be made with sc, dc groups, or chain mesh.
DO I HAVE TO MAKE EIGHT LARGE PETALS?
Eight petals create the balanced floral shape shown in the photo-inspired design. However, you can experiment with six or twelve petals if you recalculate the center spaces and corner placement.
CAN I MAKE THE PETALS IN A DIFFERENT COLOR?
Yes. Fasten off after completing the central flower, attach the new color to the petal foundations, and change back to the original color before beginning the outer lace.
HOW MUCH YARN DO I NEED FOR A BLANKET?
The amount depends on the yarn, motif size, and blanket dimensions. Make and block one square, weigh it with a kitchen scale, and multiply that weight by the total number of squares. Add approximately 10 to 15 percent for joining and the final border.
CAN I SELL FINISHED ITEMS MADE FROM THIS GUIDE?
You may generally sell items you crochet yourself, but do not claim that this photo-inspired reconstruction is the exact original pattern shown in the reference image.
HOW DO I KEEP THE CENTER OPENING ROUND?
Do not pull the magic ring completely closed. Leave a small opening and secure the tail carefully on the back.
WHAT IS THE BEST JOIN FOR A TABLECLOTH?
A join-as-you-go chain join or a loose slip-stitch join works well because it preserves the open, flexible quality of the lace.
WHAT IS THE BEST JOIN FOR A CUSHION?
A whip-stitch or single-crochet join is stronger and better suited to a cushion that will be handled frequently.
HOW DO I KEEP WHITE CROCHET CLEAN WHILE WORKING?
Wash and dry your hands before crocheting. Store the project in a clean fabric bag and avoid placing it directly on the floor or an uncovered table.
QUICK PATTERN SUMMARY
- Make a center ring with 16 sc.
- Create 8 small ch-3 spaces.
- Crochet 8 small center petals.
- Add 8 ch-5 foundation spaces behind the flower.
- Work one large fan into every foundation space.
- Use short rows and decreases to lengthen and point each petal.
- Outline the petals with sc.
- Add chain arches between and around the petals.
- Mark four evenly spaced corners.
- Use longer corner chains to transform the motif into a square.
- Add decorative chain loops and picots.
- Finish with one or two stable border rounds.
- Weave in all yarn ends.
- Wet-block the square carefully.
FINAL THOUGHTS
This elegant white floral lace crochet square is a rewarding combination of dense texture and open lace. Its small center flower draws the eye inward, while the eight long petals create movement and dimension. The open chain sections soften the design, and the square border makes the motif practical for joining into larger projects.
Take your time when counting the petals, placing the corners, and shaping the outer border. The crochet may not look perfectly balanced while it is still on the hook, but careful blocking will transform it into a crisp and graceful lace square.
Whether you use it as a small decorative mat or repeat it across an entire bedspread, this photo-inspired motif offers many opportunities for creative color choices, custom borders, and beautiful handmade projects.