How to Crochet a 6-Pointed Snowflake Star Mandala (Free Pattern & Coaster Tutorial)
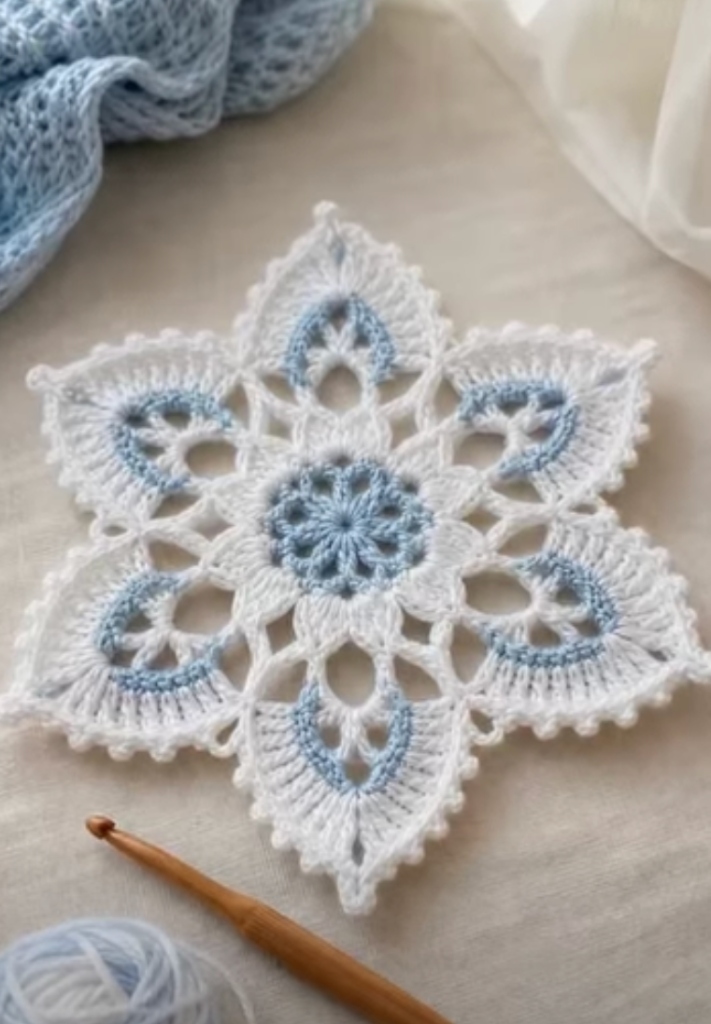
Capture the enchanting beauty of winter with this exquisite Two-Tone Crochet Snowflake Star Mandala! Combining a delicate sky-blue floral rosette center with crisp white openwork arches, picot-trimmed petals, and pointed 6-star tips, this stunning piece brings elegance to any tabletop. Use it as a festive coaster, a doily centerpiece, or a winter holiday wall hanging!
✨ Pattern Specifications:
- Skill Level: Intermediate / Adventurous Beginner
- Craft Type: 6-Pointed Star Doily & Mandala Coaster
- Hook Size: 2.5 mm – 3.0 mm (US C/2 or D/3)
- Finished Diameter: Approx. 18 cm (7.1 inches) from point to point
- Terminology: Standard US Crochet Terms
🧶 Materials & Tools Checklist
You only need two contrasting colors of cotton thread to create this stunning optical depth:
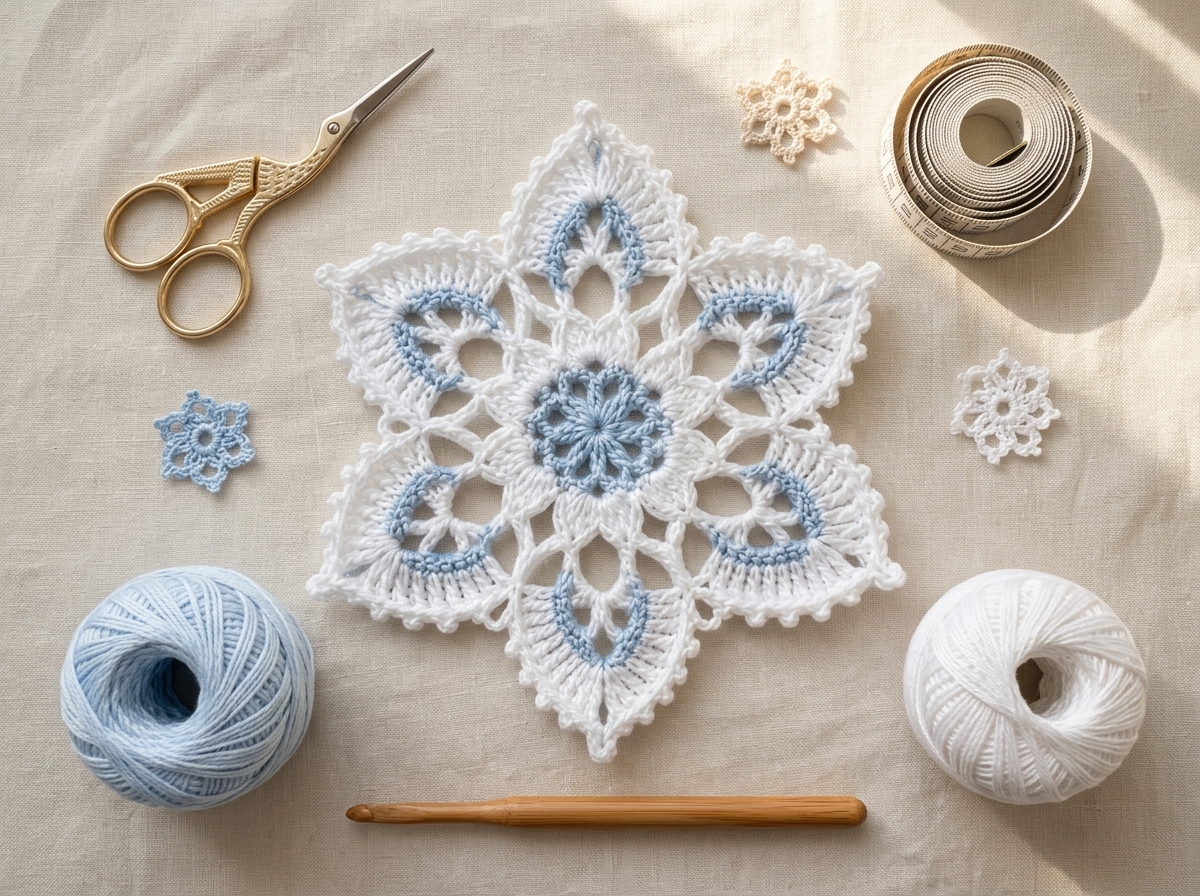
- Yarn A (Center & Inset Arches): Sport / Fingering Weight Cotton in Pastel Sky Blue (approx. 25 yards).
- Yarn B (Petals & Picot Border): Sport / Fingering Weight Cotton in Pure Crisp White (approx. 45 yards).
- Crochet Hook: 2.5 mm or 3.0 mm ergonomic wooden or steel crochet hook.
- Notions: Sharp embroidery scissors and a blunt tapestry needle for weaving ends.
- Blocking Essentials: Foam blocking board, rust-resistant T-pins, and water spray bottle.
📋 Standard US Crochet Abbreviations
🌸 Step-by-Step Written Pattern Instructions
Part 1: The Sky-Blue Rosette Center (Yarn A)
- Round 1: Using Yarn A (Sky Blue), form a Magic Ring, ch 3 (counts as 1st dc), work 11 dc into ring. Pull tail tight and join with sl st to top of ch-3. [12 sts]
- Round 2: ch 4 (counts as 1 dc + ch 1), *dc in next st, ch 1*. Repeat from * around 11 times. Join with sl st into 3rd ch of beginning ch-4. [12 dc + 12 ch-1 spaces]
- Round 3: Sl st into first ch-1 space. *Work [sc, ch 3, sc] in ch-1 space, skip dc*. Repeat from * 12 times to form 12 neat eyelet petals. Fasten off Yarn A.
Part 2: Framing the 6 White Petal Foundations (Yarn B)
- Round 4: Join Yarn B (Pure White) in any ch-3 loop. Ch 3 (counts as dc), 2 dc in same loop, ch 2. Skip next loop, *3 dc in next loop, ch 2, skip next loop*. Repeat from * around to establish 6 primary petal bases. Sl st to join.
- Round 5: Sl st to center dc. Ch 4 (counts as tr), work [2 tr, ch 3, 3 tr] into the ch-2 corner space to build the star point arches. Ch 3, sc in next gap, ch 3. Repeat around for all 6 points.
Part 3: Working the Star Petals & Picot Trim

- Round 6 (Blue Inset Crescent): Join Yarn A in the inner petal arch. Work 7 sc across the inner curve to create the striking contrasting blue inlay line. Fasten off Yarn A.
- Round 7 (White Fan Shells): With Yarn B, work 9 dc radiating around each blue crescent arch to create the full petal silhouette.
- Round 8 (Picot Star Border): Work [sc in next 2 sts, picot (ch 3, sl st in 1st ch)] along the petal rim. At the apex tip of each star point, work [1 sc, ch 4, sl st in 1st ch for large pointed tip, 1 sc] to accentuate the 6 snowflake points.
- Fasten off and carefully weave in all yarn tails behind the solid white fans.
☕ Styling Inspiration & Everyday Elegance

💡 Wet Blocking Is Essential:
To make each of the 6 points razor-sharp and ensure the inner openwork lace remains flat, wet-block your motif! Pin out each of the 6 tips firmly with stainless steel pins on a blocking mat, lightly spritz with water or diluted starch, and let it dry overnight.